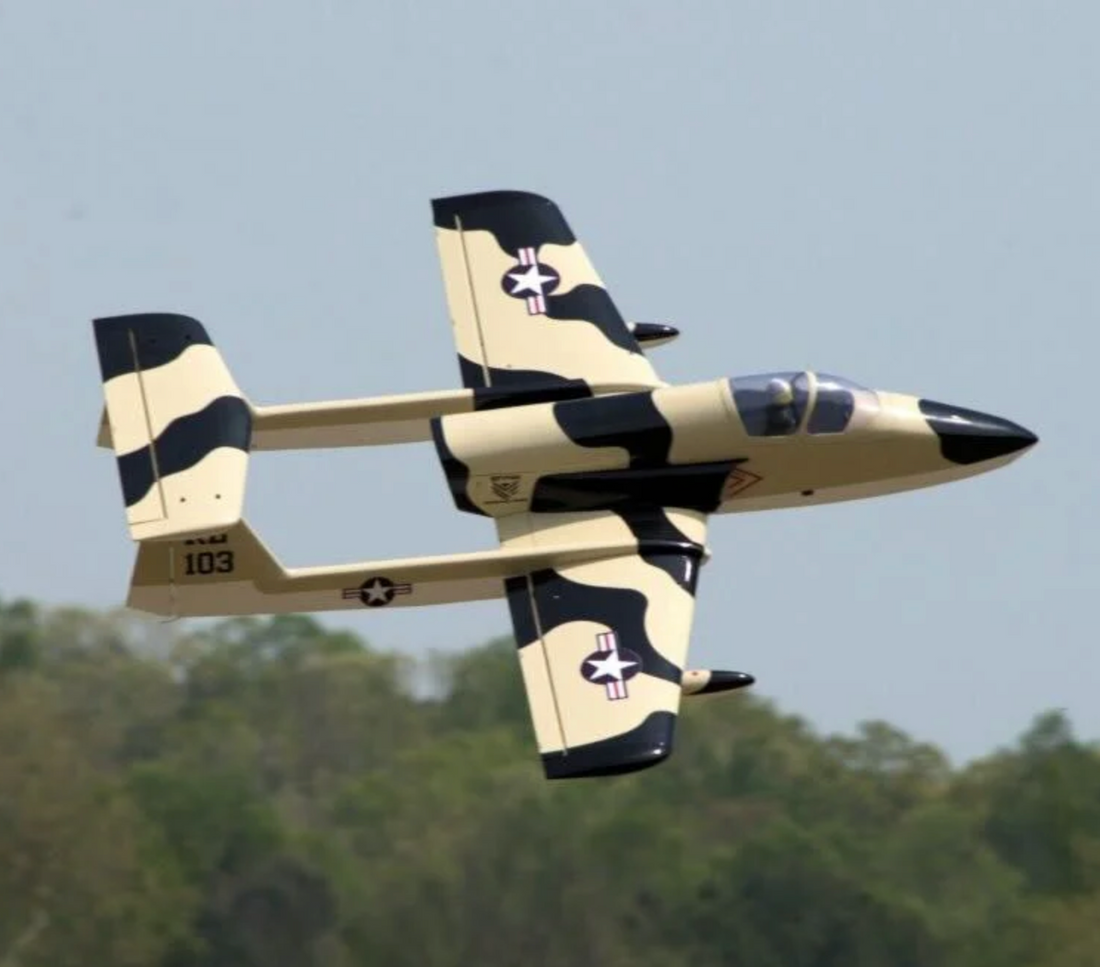
Follow along while we build the latest Boomerang Sprint V3
Share
While attending Jets Over Kentucky we picked up the latest version of the Boomerang Sprint V3 in a new military-themed scheme.
The Sprint V3's new design now includes eye-catching drop tanks with military flair.
We will be posting this as a build thread, so to speak.
In addition to picking up the Sprint, we acquired the new 105N Vortex Turbine by FTL Innovations. Available in the USA from Boomerang RC Jets.
First, we start by sealing all the wood surfaces inside the fuselage. We like to do this to prevent kero-soaked wood in case of a fuel leak. This also enhances the interior's appearance.


Next we move onto attaching control horns and hinges to the control surfaces.


Control horns are painted white then attached using BVM 24 hour Aeropoxy. Note that the flap servo horn must be reversed. In this photo it was not. Fortunately I discovered my error before the epoxy had set. A good reason to use slow cure epoxy!

Prior to installation, hinges are lubed with light grease per the manual to prevent the Aeropoxy from causing them to bind.

Next we move onto servo installations. We choose Adavnce Radio's AR8433 High Toque servos for the Elevator and Flap. For the elevator, a short servo extension is required and is routed to the right side of the horizontal stab. This will be plugged into a socket on the top of the right boom.


Next, our wiring harness must be run down the right and left booms, front to back, for both the dual rudders and the elevator (right side). For the elevator, the wiring must be fished up the right vertical fin using either a wire or line. We use wax-coated twine with a 4mm nut attached. This is dropped down the right vertical fin from the top of the boom and is accessed via the rudder bay. We then attach this to the wiring harness and pull it up to the top.


Once the rudder wire is pulled through, we secure the connector with a custom-designed female servo connector mount. This will allow easy removal of the elevator when needed.
Regarding our wiring harness, we are using one that was nicely done by our friends at Hemming Aviation. More on the harness as the build progresses.
Moving on to the flap servo install. The Sprint utilizes one servo for the flap mounted in the center wing section.
First, as with all of the servo mounts, we will need to remove the covering from the servo horn opening. I do this with a soldering iron, which bot cuts the film and seals it to the wood. A standard-sized servo is used here. I am using AR8433 servos from Advanced Radio for both the elevator and flap. The servo mount opening may need to be enlarged slightly, depending on the brand of servo used. On the AR servos, I only needed to bevel the upper edge of the mount to allow the servo to be installed. I use Allen head servo screws from MicroFasteners to mount all of my servos. I prefer metal servo arsm so a TORQ metal arm was used. The actual servo plate will not be mounted until we have completed the retract installation and wiring in the wing center section.


The elevator servo mounting was also completed at this time using the same process as the flap. The only difference is that the servo wire will be routed to the right of the elevator and out of an opening provided. Sorry, no photos os this step.
